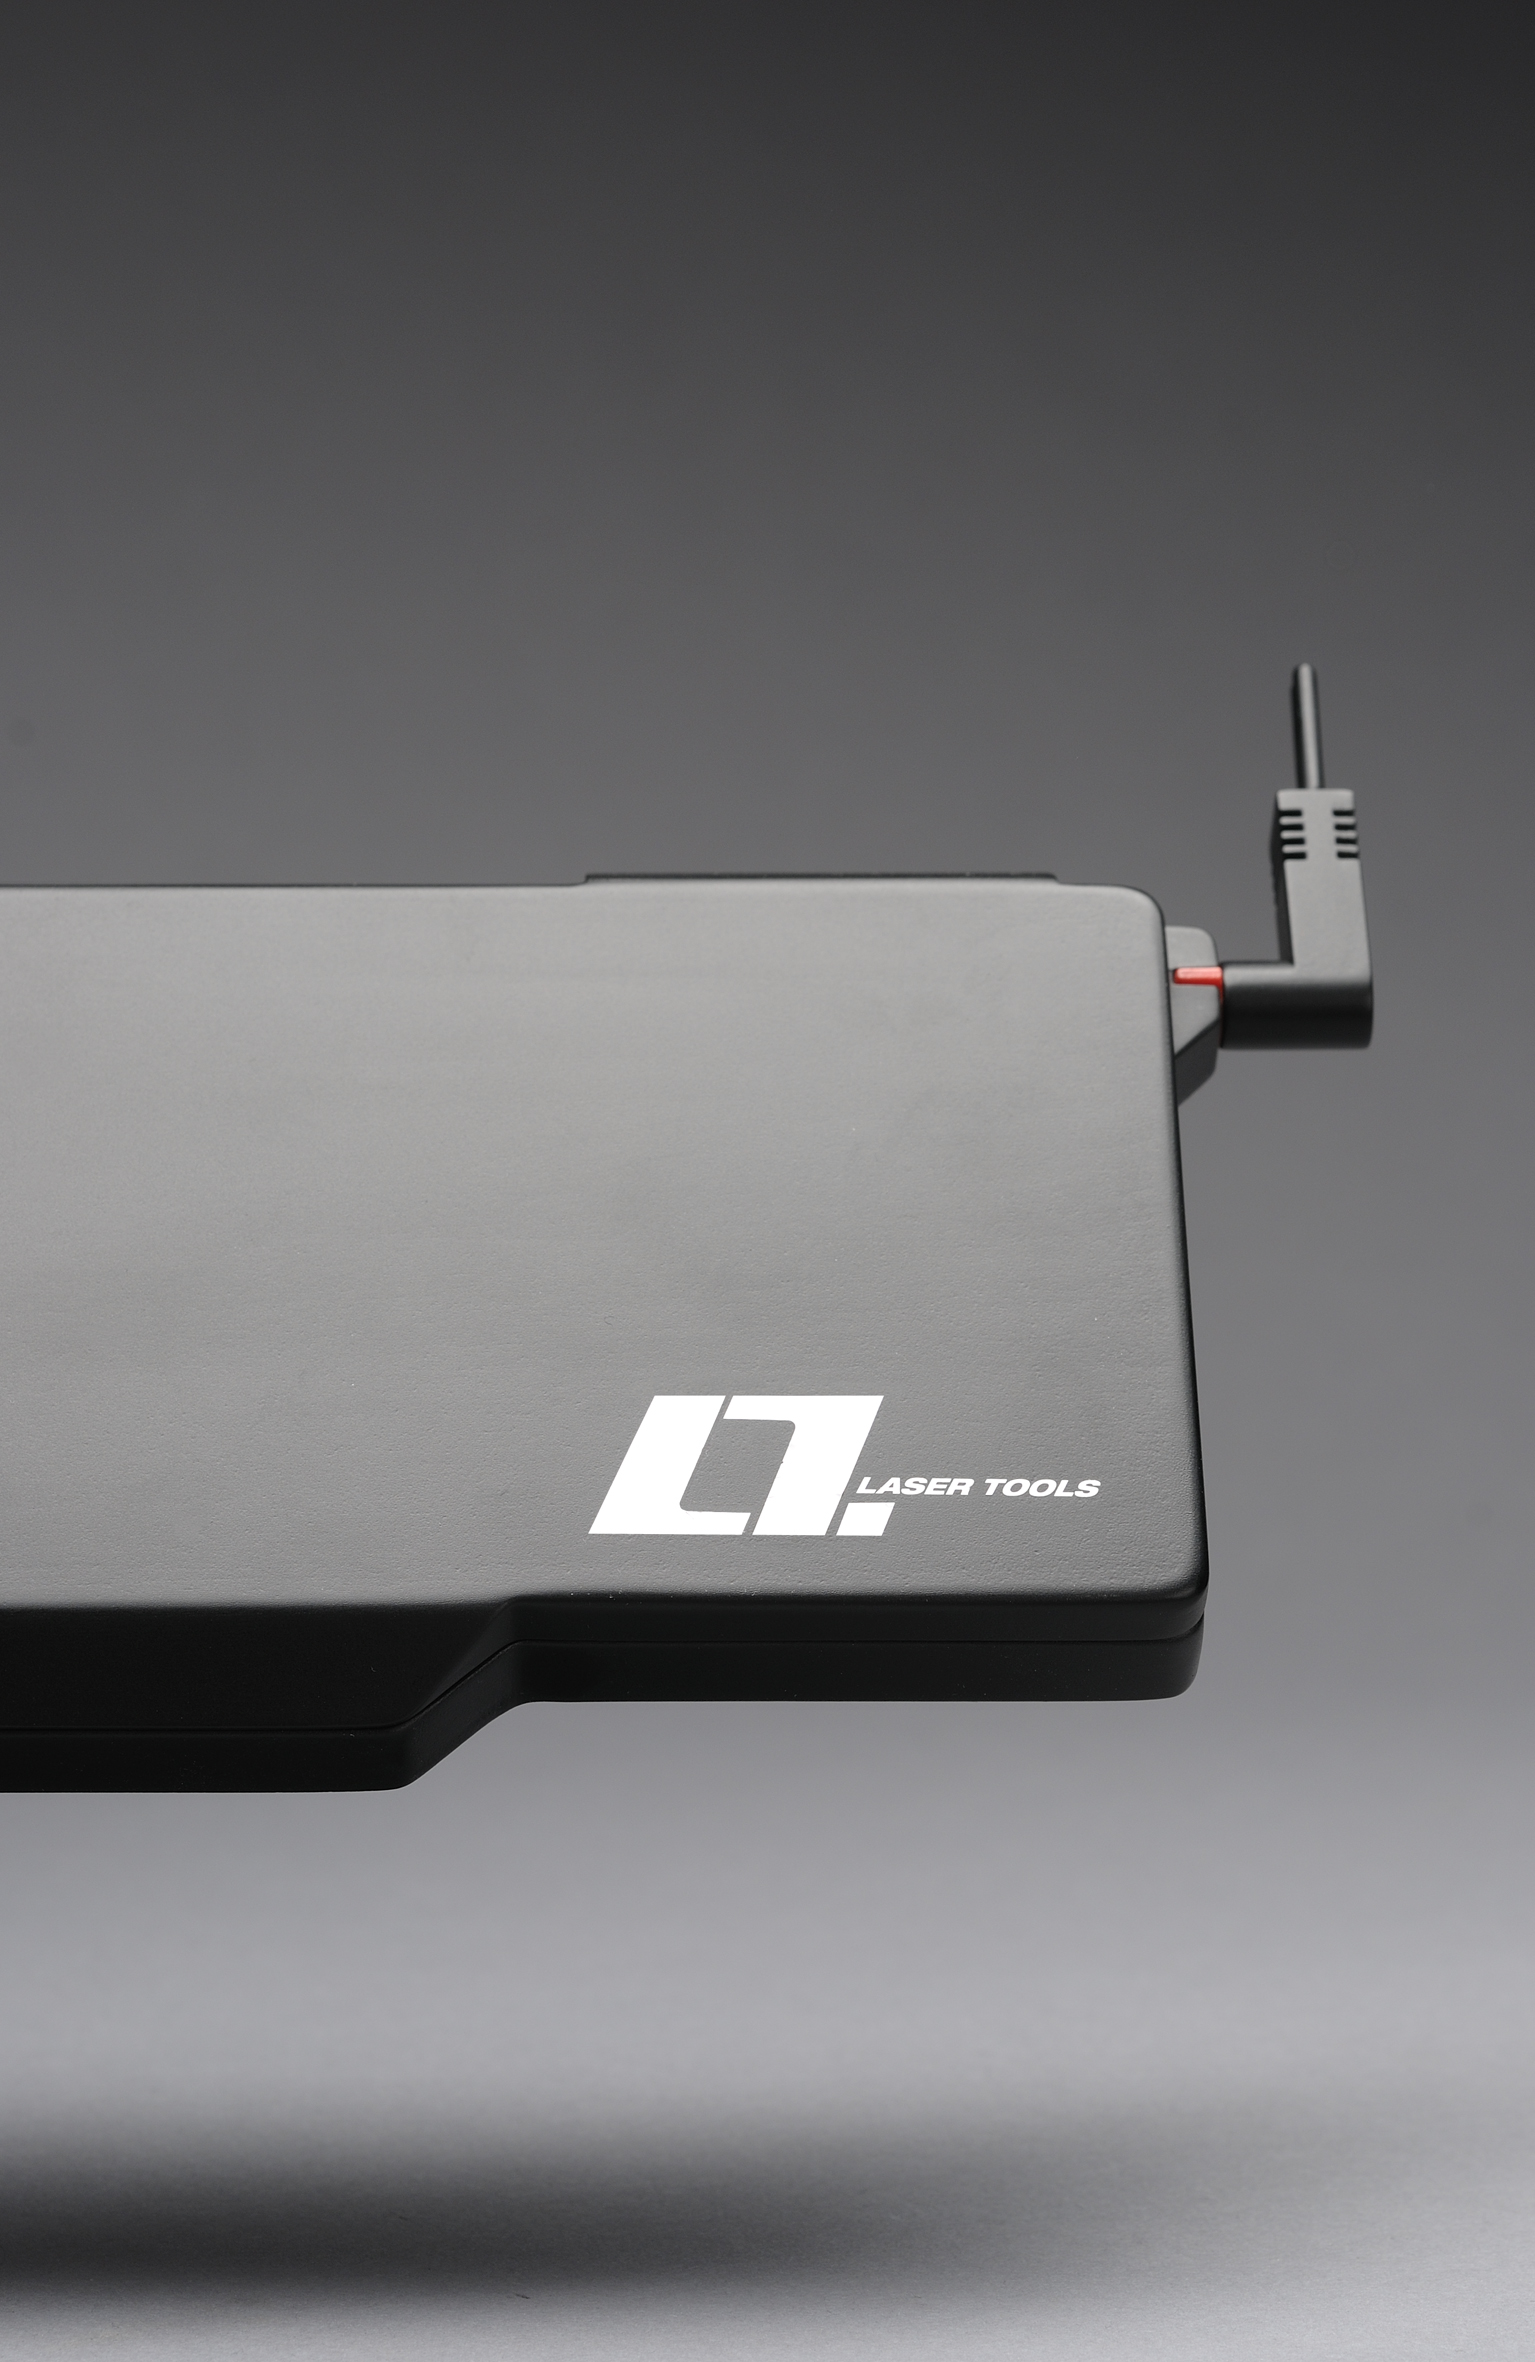
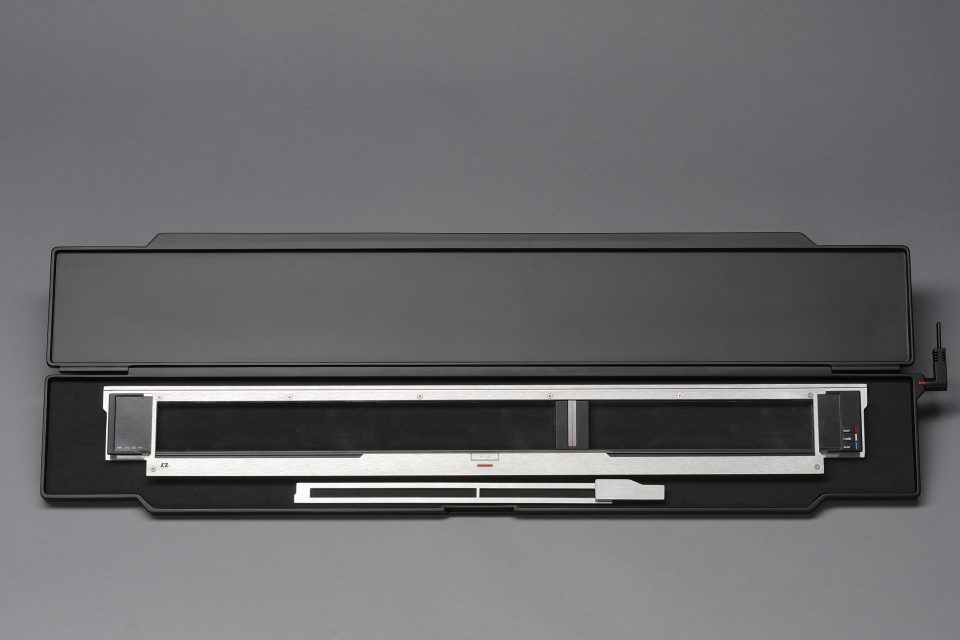
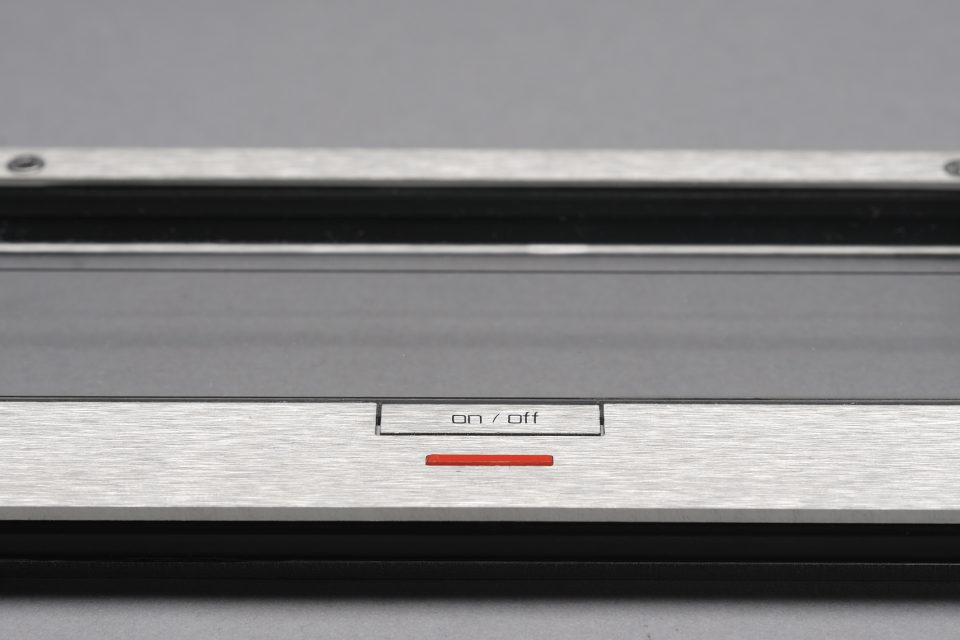
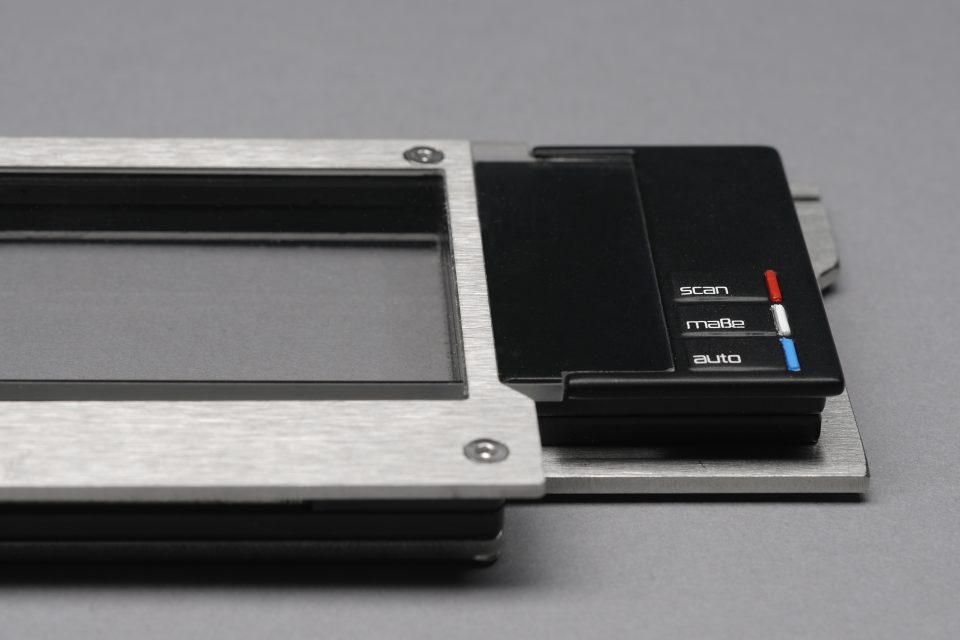
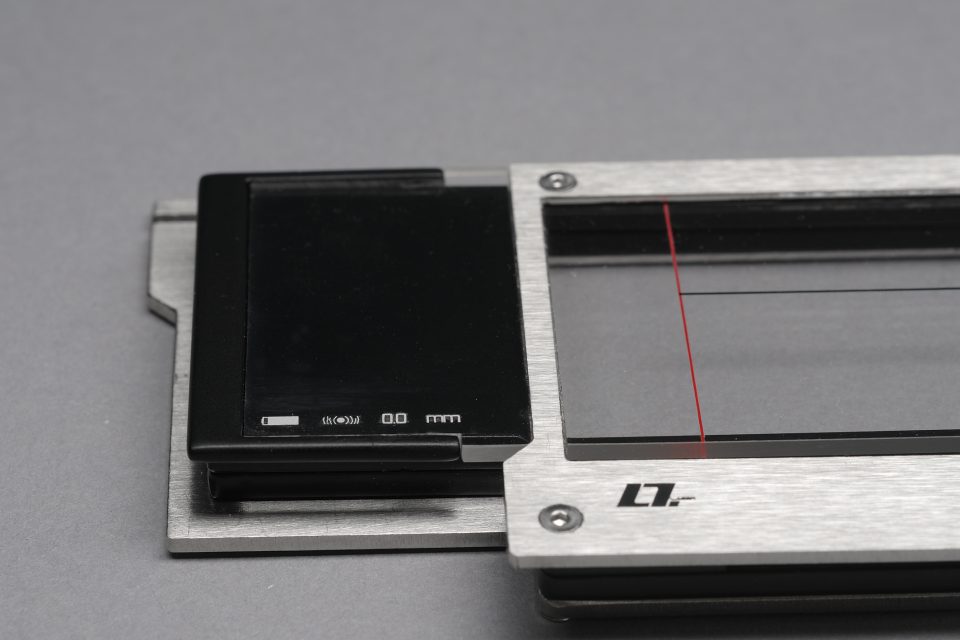
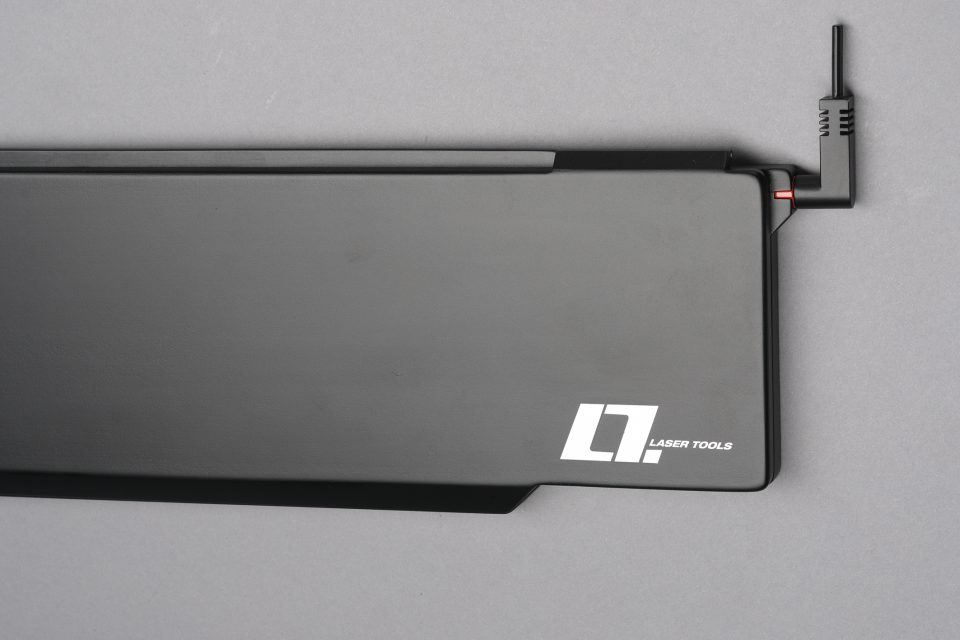
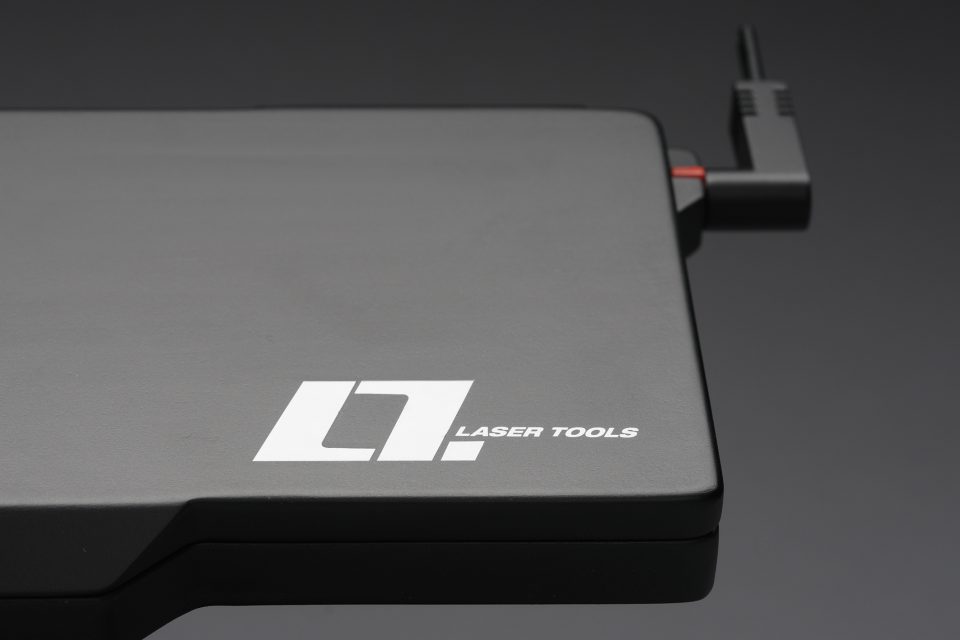
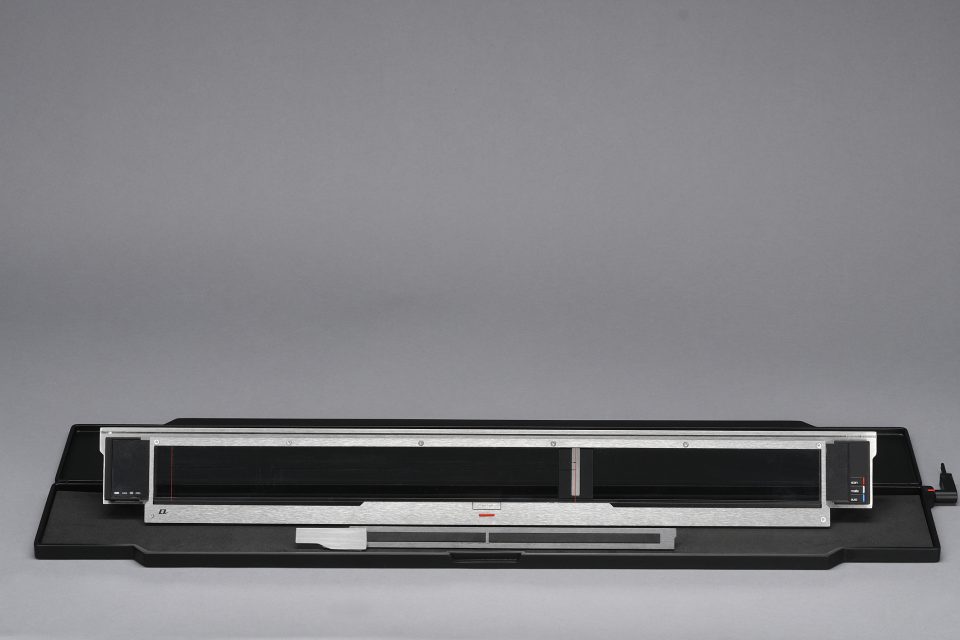
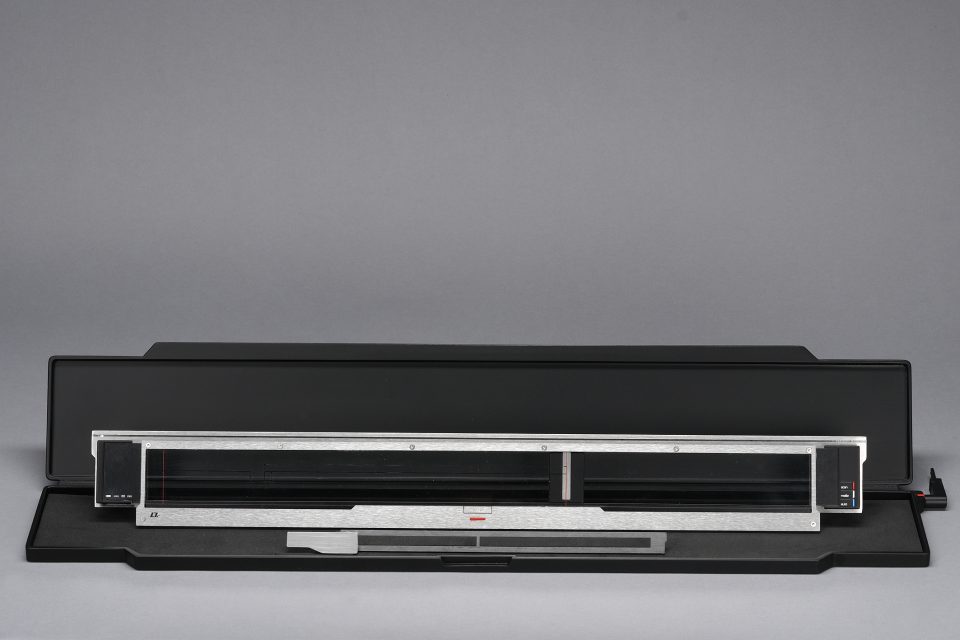
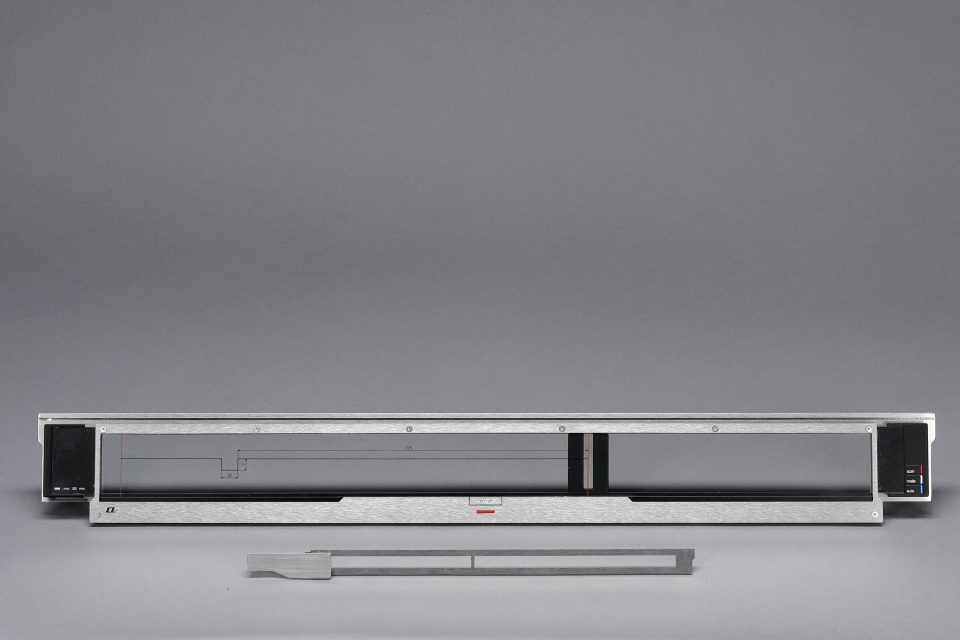
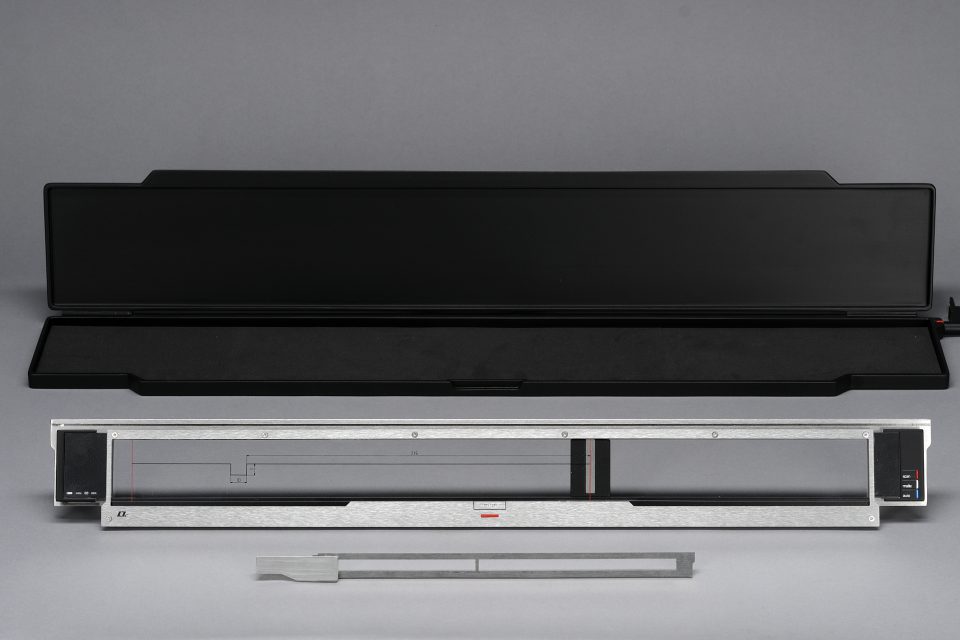
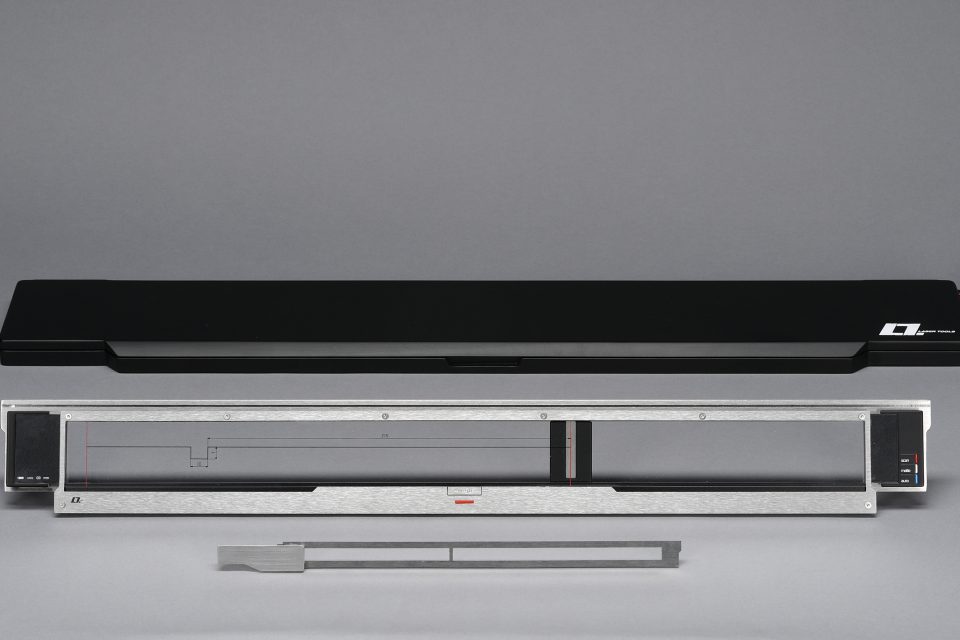
The aim of this diploma thesis was to develop a measuring instrument which can record two- and three dimensional data of objects by using the keytechnology laser to support and optimize the production process. The newly developed measuring instrument combines two new technologies: Laser technology as optical measuring method and transparent Organic Light Emitted Diodes technology as displaying method. Contactless measuring of components has the advantage of capturing not only two- but also three dimensional data in ones single step, whereas traditional measuring instruments such as calipers, meters, rulers etc. could only capture single one dimensional data. Measuring data had to be taken in several steps and to be compared with the reference measurements in a time-consuming process.
The transparent OLED display does not only show the captured measurements but also visualizes these in a CAD drawing which shows a two dimensional outline of the geometry of the measured component. Through a large transparent display users can see where they have placed the measuring instrument and thus control its position in respect to the component that is to be measured. Furthermore, the instrument offers its users the possibility of an immediate automatic comparison and evaluation of the captured outline with a reference outline on a touch screen. The whole process is done by a computer which offers its user suggestions of how to reach the reference measures. Compared to the old measuring process the new automatised process offers a number of advantages such as minimising error sources, rising the quality of measuring and thus helping to optimising the production process. The main advantages are: several measurements can be taken in one step, they are allocated and displayed in a CAD drawing, measurements are automatically compared with a reference and evaluated an finally suggestions of how to reach the reference measurements are being offered.
Design by Matthias Pinkert
